


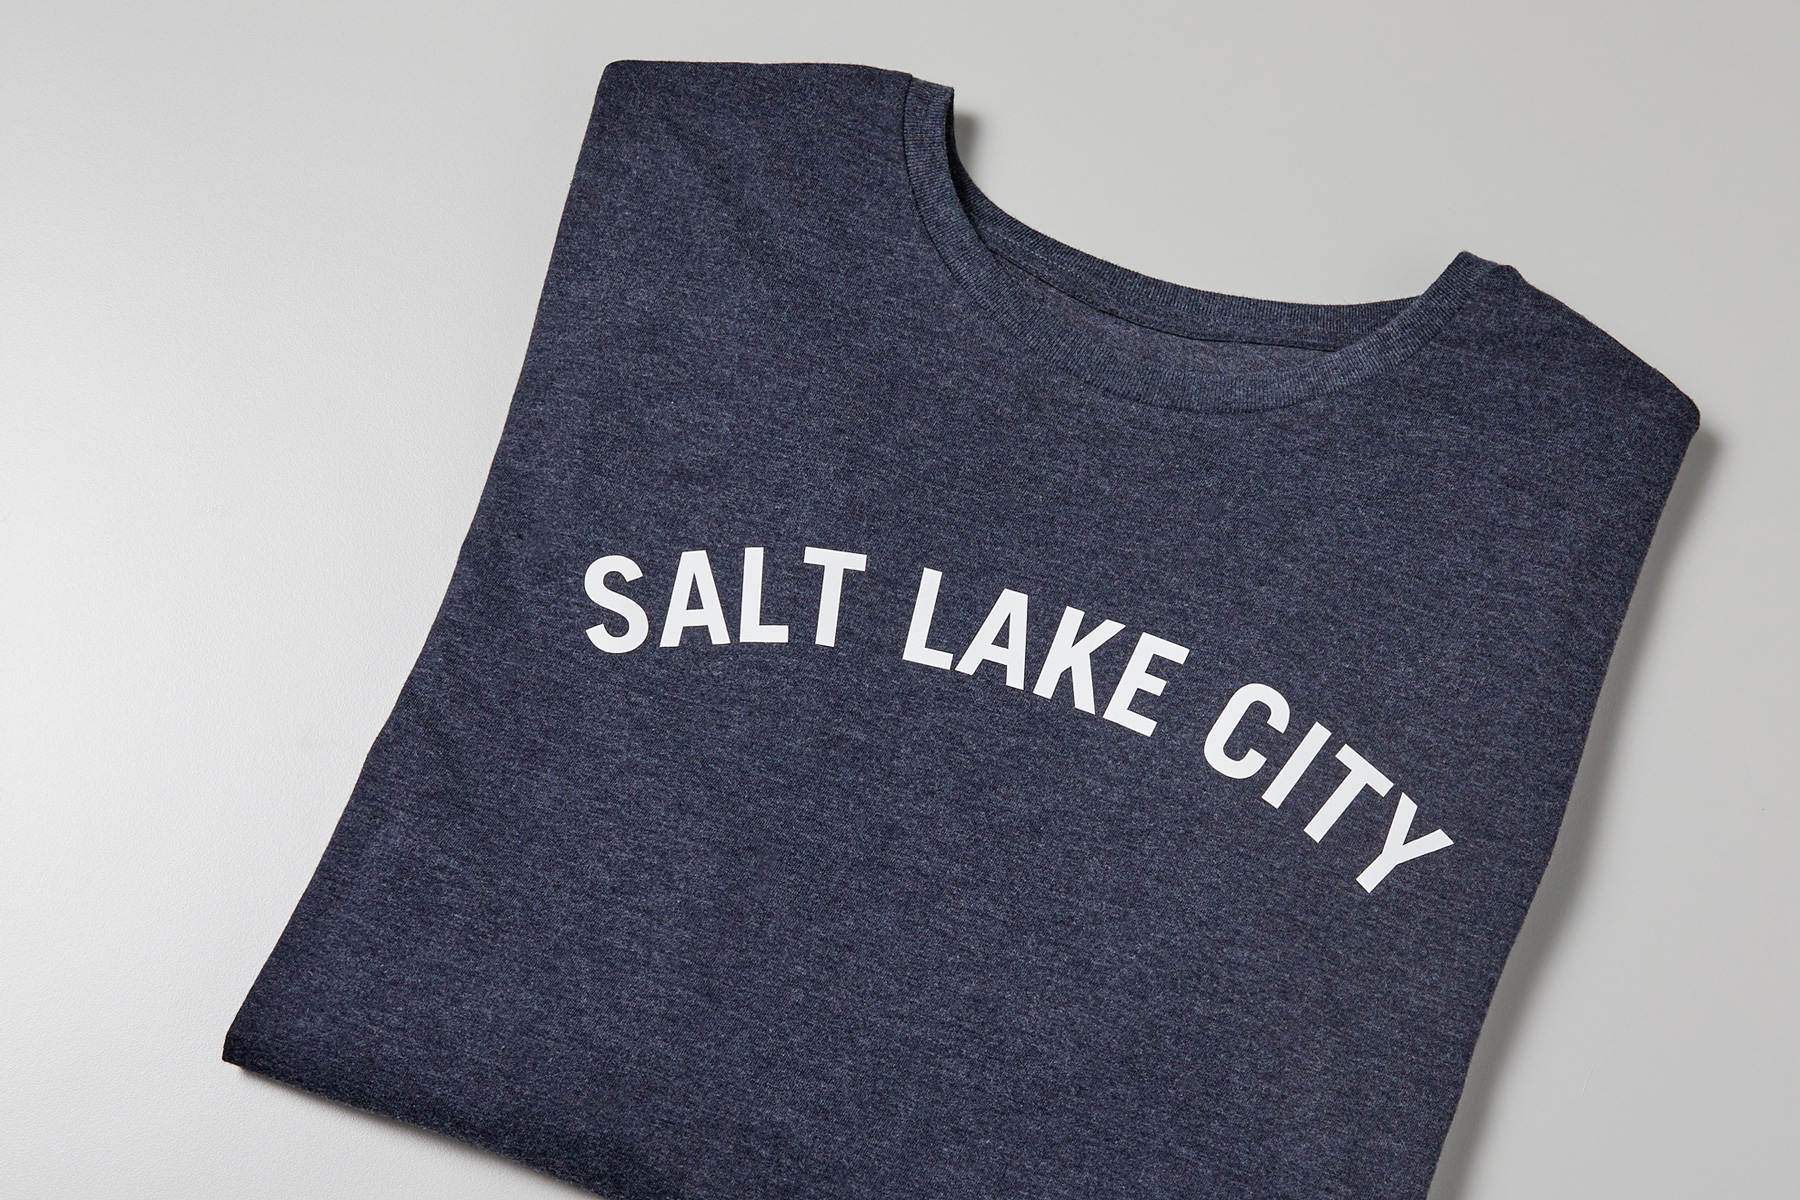
Do you want to launch your first project but are still unsure about what to create? If so, let me tell you about one of the most popular and easiest crafts you can make: a personalized T-shirt!
Whether you want to create a custom T-shirt for your family, friends, or yourself, this blog will guide you through the entire process of how to use a Cricut to make shirts with HTV (Heat Transfer Vinyl).
 Heat transfer vinyl enables crafters to personalize fabric projects by adding designs and text using heat and pressure. It’s a versatile material that is not limited to making T-shirts. You can create various DIY projects, such as wall hangings, hats, caps, tote bags, shoes, and numerous other items.
 Heat transfer vinyl enables crafters to personalize fabric projects by adding designs and text using heat and pressure. It’s a versatile material that is not limited to making T-shirts. You can create various DIY projects, such as wall hangings, hats, caps, tote bags, shoes, and numerous other items.
What You Need to Create a Shirt With Cricut
Make sure you have the following essentials before you start creating shirts with your machine:- Any Cricut Explore, Maker, or Joy machine
- Cricut EasyPress 2
- Weeding tool
- T-shirt
- EasyPress mat
- Heat transfer vinyl
- Scraper tool
- Smart iron-on
- StandardGrip cutting mat
How to Use a Cricut to Make Shirts: Easy Steps
If this is your first time crafting, follow these simple steps to make a shirt with your Cricut machine:Step 1: Download Design Space
- Go to a web browser and type design.cricut.com/setup
- Now, enter your machine model in the search field.
- Next, select the checkbox at the bottom left of the page.
- After installation, open Cricut Design Space and Sign In. If you don’t have an account, click on Create Cricut ID and follow the instructions.
Step 2: Click on New Project
- Once you have signed in successfully, open your Design Space.
- Head over to the Cricut Design Space home page and click the New Project icon to start from scratch.
- Then, it will take you directly to the canvas where you’ll design.

Step 3: Select the Text Menu
- From the left-hand side of the navigation bar, you’ll see an option for “Text.”
- After that, you have to click on the Text button.
- Next, a text box will show up on your screen for you to enter text. Type whatever you want to get printed on your T-shirt.

Step 4: Design Your Text
- At the top of the dropdown menu, select Font if you want to change the Font.
- Get ready to choose your favorite text style from a list of hundreds of fonts.
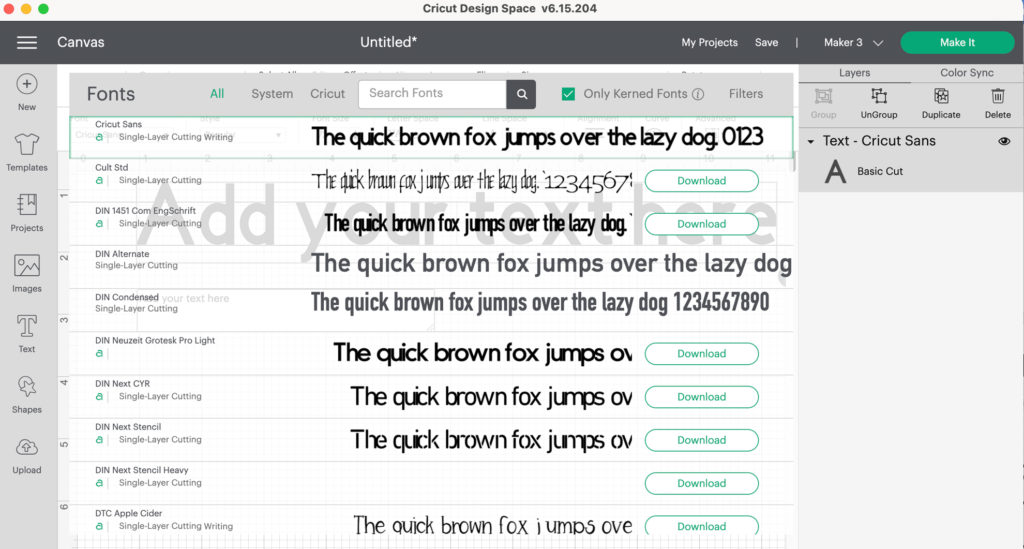
- Click on whichever you find the best.
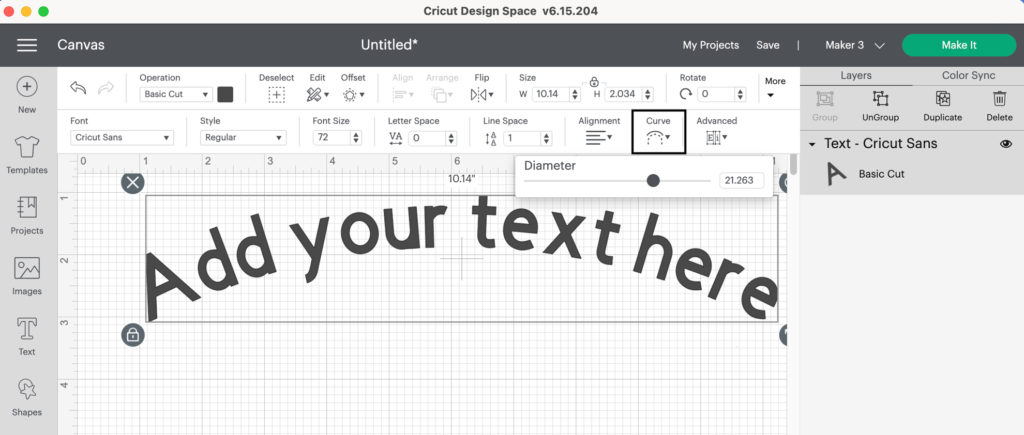
Step 5: Curve Your Text
- In the same dropdown menu at the top, you will find the Curve option. Click on it.
- After clicking on the Curve option, a slider will show up on your display, allowing you to adjust the curve of your text by moving it left or right.
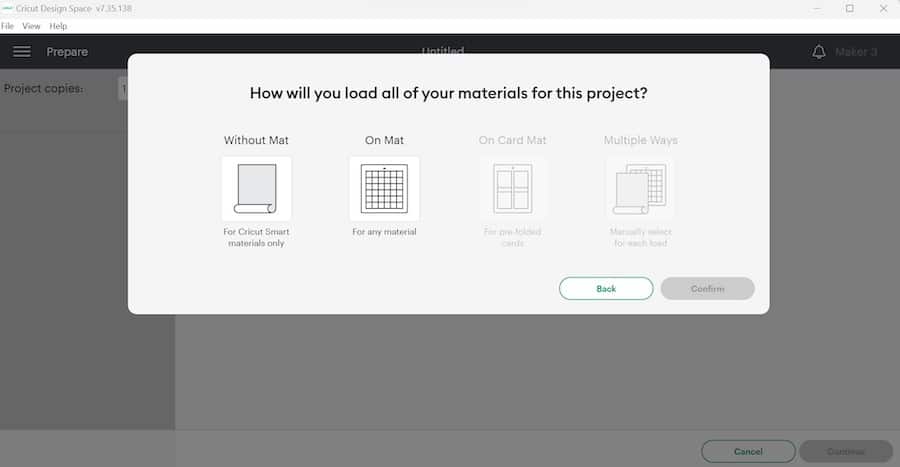
Step 6: Finalize Your Design
- Once you’re satisfied with your design, click “Make It”.
- Then, the Cricut Design Space will command your machine to cut.
- You will be asked to choose between using a cutting mat and not using one.
- Ensure you select “Mirror” on the cut screen when using iron-on and click Continue.
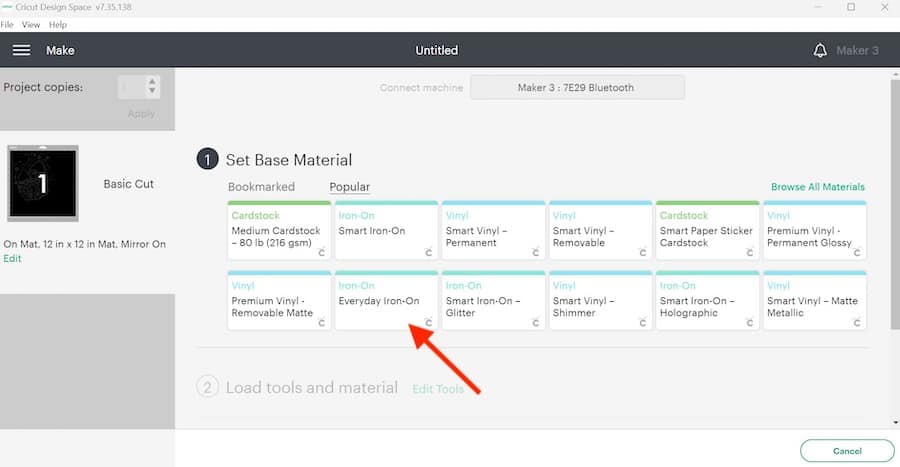
Step 7: Get Ready to Cut
- Switch on your machine by pressing the power button.
- Next, choose the base material type that best suits your material. I am selecting Smart Iron-On from the list. This step helps your machine determine the required pressure amount for cutting.
- Place the HTV’s shiny, plastic sheet down on the mat. Smooth it out to remove any air bubbles or wrinkles.
- Place the mat into your machine, positioning it under the rollers.
- Press the up and down arrow buttons on your machine. It will pull up your mat, and it will be loaded successfully.
- Finally, click on the Go or Start button to begin the cutting process.
- Once cut, remove the excess vinyl using the weeding tool. Slowly lift a corner and pull it gently away from the transfer sheet.
Step 8: Transfer Your Design to T-shirt
- Preheat your EasyPress. This will make your machine ready to transfer material to the shirt.
- Ensure your shirt is clean and ready to receive the transfer design by using a lint roller to remove lint and debris from the shirt.
- Place your shirt on the heat mat to ensure your safety.
- Place your design on the shirt wherever you prefer, according to your personal preference.
- Visit cricut.com/en/heatguide and select your machine from the available options.
- Select your specific heat-transfer material and base material, then click the Apply button.
- Follow the Cricut heat guide instructions and set your EasyPress to 315°F for 30 seconds if you’re using HTV.
- Use light pressure and place your EasyPress on the design you’ve put on your T-shirt.
- If your press is smaller than your design, divide your design into sections and heat it accordingly.
- Peel off the backing sheet, and that’s it you’re done! Your design will stay intact on your T-shirt even after multiple washes!
Final Thoughts
Remember, practice makes a man perfect, so don’t demotivate yourself if it doesn’t go as you want. Keep trying to strive for perfection. One last piece of advice I want to share with you is to always try to wash your T-shirt inside out so that it lasts a long time. Have fun designing your projects, and share your thoughts with us!Frequently Asked Questions (FAQs)
How Do I transfer a Cricut Image to a Shirt?
Follow the steps to learn if you want to transfer the image to a shirt:- On the left-hand side of the toolbar panel, click on the Image option if you want to use the image from the Cricut library.
- If you want to personalize your T-shirt with your own image, slide down the toolbar, find the “Upload” option, and click on it.
- Upload and resize your design. Ensure that the Mirror option is activated.
- Finalize your design and cut it using the Cricut Design Space instructions.
Which Vinyl Is Best for Shirts?
HTV (Heat Transfer Vinyl) is often considered the best option for crafting T-shirts due to its versatility, ease of use, and durability. It allows for complex designs and is affordable for small orders. It also offers a wide range of special effects, textures, and finishes, making it ideal for personalized and high-end customization. However, you can use adhesive vinyl as a cheaper alternative.Why Is My Cricut iron-on vinyl Not Sticking?
Iron-on transfers might not adhere properly due to several reasons:- Ensure the EasyPress or iron is set to the correct temperature for your specific vinyl and base material, as recommended in the Cricut Heat Guide.
- Use firm, even pressure. Ironing boards and plastic surfaces can both hinder and facilitate proper adhesion.
- Apply heat for the recommended duration, and consider reapplying heat to the material for an additional 10-15 seconds.
- Ensure you’re using the correct peel type for your specific vinyl.
Pinterest
:
https://www.pinterest.com/cricutcomcreate
 :
https://www.pinterest.com/cricutcomcreate
:
https://www.pinterest.com/cricutcomcreate
Service/Product Details:
https://designcricutsetup.com/how-to-use-a-cricut-to-make-shirts-full-guide/


