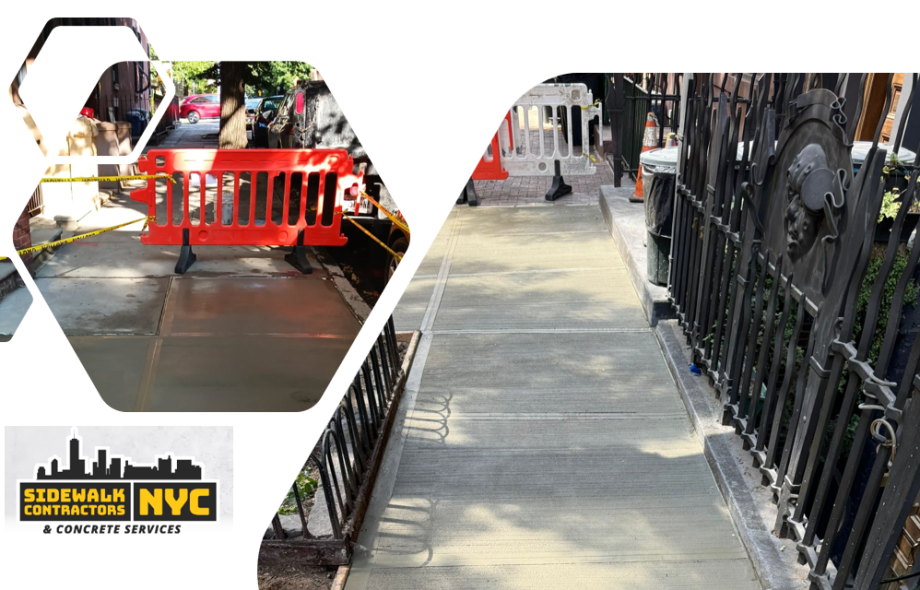
Creating concrete steps can be a valuable upgrade for any NYC property, providing durability and a sleek appearance to entryways, patios, or backyards. Whether you’re a homeowner aiming to boost curb appeal or a business enhancing accessibility, knowing the steps involved in making concrete stairs can be incredibly helpful. This guide breaks down the process from preparation to finishing, ensuring a long-lasting structure. Here’s everything you need to get started, plus tips on when to reach out to a local expert if you need extra guidance.
Step 1: Gather Materials and Tools
Before you dive into the project, gather the necessary materials and tools for concrete step construction. Here’s what you’ll need:
• Concrete mix
• Mixing container or concrete mixer
• Shovels and trowels
• Wood or metal for framing
• Leveling tools (like a carpenter’s level)
• Tape measure
• Rebar (optional for reinforcement)
• Release agent (to prevent sticking on form removal)
Selecting quality materials from a trusted supplier is essential, especially in a city like NYC where durability matters in all weather conditions. Poor-quality materials can lead to broken sidewalks or cracked steps down the line.
Step 2: Plan and Measure the Steps
Planning is crucial in creating concrete steps that are safe, comfortable, and long-lasting. Start by measuring the area where you want to place your steps, ensuring you calculate the height, depth, and width of each step. In NYC, keeping steps within standard building codes is essential for both safety and compliance.
Height (Rise): Generally around 7 inches per step
Depth (Tread): Aim for 10-12 inches per tread for safety and comfort
Width: Depends on your needs; typical residential steps are at least 36 inches wide.
If you need help navigating the technical aspects, it’s wise to Visit Website resources or contact a local expert to ensure accuracy in your measurements and compliance with local standards.
Step 3: Build the Form for the Steps
Forms are temporary structures that shape and hold the concrete in place until it cures. To make the form:
Create a Base Frame: Use sturdy materials like plywood or metal to create a frame that matches the dimensions of your planned steps. Ensure it’s well-leveled.
Reinforce with Stakes: Secure the frame with stakes to keep it stable. For extra strength, consider adding rebar to the structure.
Apply Release Agent: Use a release agent on the interior of the form to make removal easier once the concrete has set.
This formwork is essential to the overall shape and durability of your steps. For those with less experience, hiring a local expert can be a wise choice to avoid complications during the curing process.
Step 4: Mix and Pour the Concrete
Follow the manufacturer’s instructions on your concrete mix for the correct water-to-cement ratio. If you’re mixing concrete manually:
Combine Cement and Water: Use a mixing container or concrete mixer for an even mix.
Pour Concrete into Form: Start at the bottom of the form, working your way up to ensure full coverage.
Level and Smooth: Use a trowel to smooth each step’s surface. A carpenter’s level helps to achieve a consistent look.
For a seamless finish, make sure each step is free of air pockets and voids. This is where a local expert can help with leveling and smoothing techniques for a professional-grade result.
Step 5: Curing and Finishing the Concrete
Once the concrete is poured, patience is key. Concrete needs time to cure, a process that ensures it reaches full strength.
Cover and Keep Moist: Cover the concrete with plastic sheeting or damp burlap to retain moisture. Concrete cures best in moist conditions.
Allow Curing for 48 Hours: Avoid stepping on the concrete steps during this time to prevent cracks or surface marks.
Remove the Forms: After the curing period, carefully remove the forms.
Once the forms are off, inspect the steps for any uneven areas or imperfections. For high-traffic areas in NYC, consider sealing the concrete to protect it from water damage, freezing, or heavy foot traffic. Visit Website resources can offer further insights on different concrete finishes suitable for New York’s demanding weather.
Step 6: Inspect and Maintain
Concrete steps require little maintenance but benefit from periodic inspections to identify potential issues. Regularly cleaning the steps and applying a concrete sealer every couple of years can help maintain their appearance and durability.
In NYC, concrete structures face unique challenges from weather fluctuations and heavy use. A reliable contractor can help ensure your steps are built to last. If you encounter problems like chips or cracks, addressing them promptly can prevent them from turning into broken sidewalks or steps, keeping your property safe and compliant.
When to Consult a Professional?
Building concrete steps can be a rewarding DIY project, but it also requires skill and precision. If you’re unsure about any step of the process or need help meeting NYC’s building codes, consider consulting a reputable contractor. Not only will this ensure a smooth experience, but a professional will also have the expertise to handle unexpected challenges.
For those ready to tackle the project independently, this guide provides the foundation for a successful build. And for any additional help, be sure to Visit Website resources for more detailed advice and local expertise on concrete projects in NYC.


