Enabling Elightwalk’s Magento 2 Social Login extension involves multiple steps that may vary based on version and instructions. Here’s a general guide:
Install the Extension:
Follow the installation instructions provided by the Elightwalk Magento 2 Social login. This often involves using Composer, Magento Marketplace, or manually uploading files to your server.
Install via composar Copy code and past
composer require elightwalk/magento2-social-login
php bin/magento module:enable Elightwalk_Core Elightwalk_SocialLogin
php bin/magento setup:upgrade
php bin/magento setup:di:compile
php bin/magento setup:static-content:deploy
php bin/magento cache:clean
php bin/magento cache:flush
Configuration Path
From Magento Admin, select Store > Settings > Configuration > Elightwalk Extensions > Social Login.
Create Social Media Applications:
From Magento Admin, select Store > Settings > Configuration > Elightwalk Extensions > Social Login.
- To enable Social Login, you must create applications on the respective social media platforms (e.g., Facebook, Google, Linkedin) to obtain API keys and secrets.
- Go to their developer console for each platform and create a new project or application. Follow the platform-specific instructions to generate API keys and secrets.
Configure Elightwalk Social Login in Admin:
- From Magento Admin, select Store > Settings > Configuration > Elightwalk Extensions > Social Login.
- Log in to your Magento 2 Admin Panel.
- Navigate to Stores > Configuration > Elightwalk > Social Login.
- Enter the API keys and secrets obtained from the social media platforms in the appropriate fields.
- Configure additional settings such as button styles, the display of social login options, and any specific behavior you desire.
Sign In Social Account
Google Client ID & Secret
Facebook Sign In
Linkedin Client ID & Secret
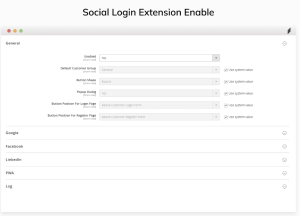
- Enable Social Login Buttons:
- In the configuration settings, enable the social media platforms you want to offer for Social Login.
- Choose the locations where the social login buttons appear, such as on the login page, checkout page, or customer account page.
Customize User Experience
Button Shape: Squre OR Rectangle
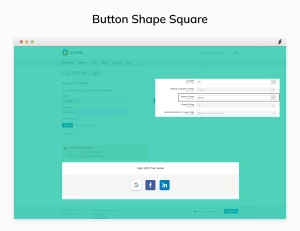
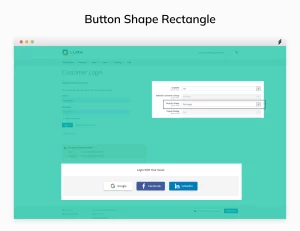
Button position: Above OR Below
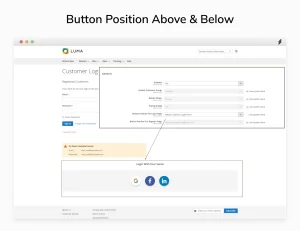
Button position: Landing Page
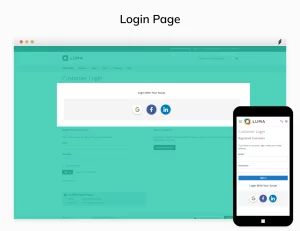
Test Social Login Functionality:
- Test the functionality by navigating to the login page after configuring the extension and enabling social login buttons.
- Click on the social login buttons to ensure they redirect users to the respective social media platforms for authentication.
- Authenticate and confirm successful login to your Magento 2 store.
Monitor and Maintain:
- Regularly monitor the social login functionality to ensure it continues to work smoothly.
- Keep the social media API credentials secure and update them if needed.
Download the Elightwalk Magento 2 Social Login extension now! For any inquiries regarding the Magento 2 Social Login extension, be sure to consult the comprehensive documentation guide provided. Access the latest features, installation instructions, and customization details to enhance your Magento 2 store’s user experience. Explore the documentation guide for seamless integration and optimized performance.


 :
:


